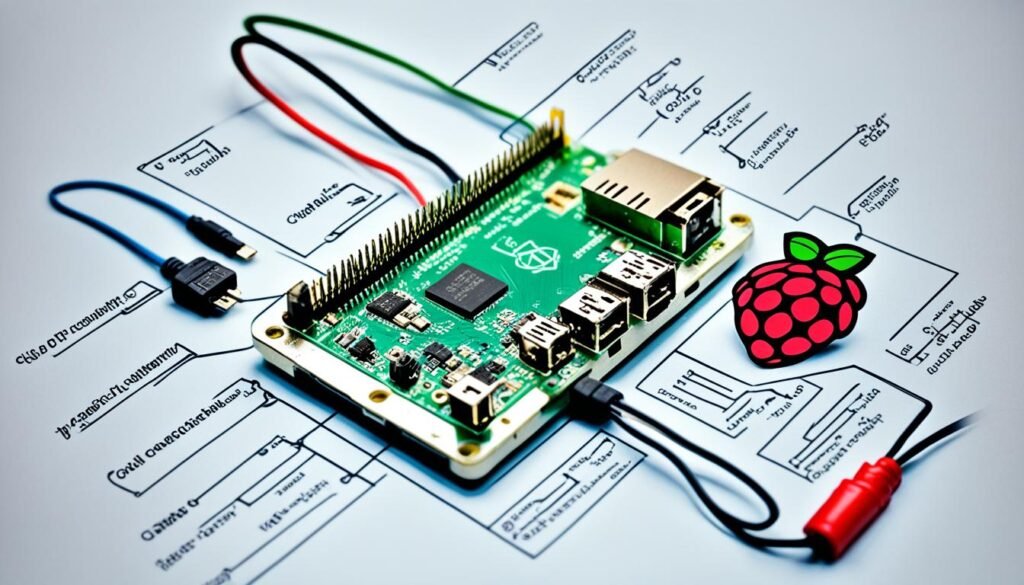
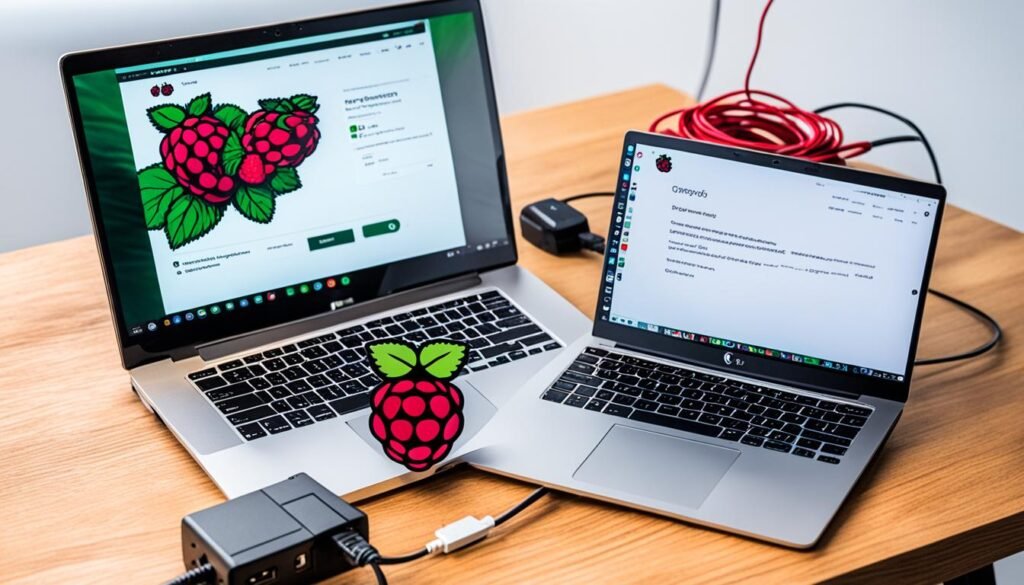
Connecting your Raspberry Pi to a laptop opens up new possibilities for your projects. You can set up a home network, access your Raspberry Pi from anywhere, or control it from your laptop. This guide will show you how to connect your devices easily.
The connection between your Raspberry Pi and laptop can be made via Wi-Fi, Ethernet, or a direct USB-to-Ethernet link. We’ll cover all steps to make sure your Raspberry Pi and laptop talk to each other. This lets you work on projects from your laptop.

By the end of this article, you’ll know how to connect your Raspberry Pi to your laptop. You’ll also be able to use remote access to control your Raspberry Pi’s desktop from your laptop. This guide gives you the tools and knowledge for a strong laptop-Raspberry Pi interface.
Setting Up the Raspberry Pi
Before you connect your Raspberry Pi to a laptop, make sure the operating system is installed and Wi-Fi is set up. This is key for remote access and starting your Raspberry Pi project.
Installing the Operating System
First, install the Raspberry Pi operating system, also known as Raspberry Pi OS, on a microSD card. Aim for a microSD card of at least 8GB, but 16GB or 32GB is better for more storage and flexibility. Choose a microSD card with a Class 10 or higher speed rating for the best performance.
Download the Raspberry Pi OS image from the official Raspberry Pi website. Then, use a tool like balenaEtcher to put the image on the microSD card.
Configuring the Wi-Fi Connection
After installing Raspberry Pi OS, set up the Wi-Fi on the microSD card. This lets your Raspberry Pi connect to a network automatically when it starts, making remote access possible via SSH or VNC.
- Open the microSD card in a file explorer and find the “boot” partition.
- Create a new text file in the “boot” partition named “wpa_supplicant.conf”.
- Add the following content to the file, replacing the placeholders with your Wi-Fi network details: country=US ctrl_interface=DIR=/var/run/wpa_supplicant GROUP=netdev update_config=1 network={ ssid=”YOUR_WIFI_NETWORK_NAME” psk=”YOUR_WIFI_PASSWORD” }
- Save the file and eject the microSD card.
Insert the microSD card into your Raspberry Pi and turn it on. It will connect to your Wi-Fi network automatically. This lets you access the device’s terminal and desktop from your laptop.
“The Raspberry Pi is a versatile single-board computer that can be used for a wide range of projects, from building retro arcade machines to setting up a home web server.”
With the operating system and Wi-Fi set up, you’re all set to explore your Raspberry Pi’s features and connect it to your laptop. Next, we’ll guide you on how to link the two devices together.
Establishing a Network Connection
To connect your Raspberry Pi and laptop, you need to set up a network link. If your laptop has an Ethernet port, just use an Ethernet cable. But, if it doesn’t, a USB-to-Ethernet adapter can help.
Connecting via Ethernet
To link your Raspberry Pi to your laptop with an Ethernet cable, you need two 1-foot cables. One goes from the Raspberry Pi to your router or modem. The other connects your laptop directly to the Raspberry Pi. This setup lets your laptop access the Raspberry Pi’s network, even without Wi-Fi.
Connecting via USB-to-Ethernet Adapter
If your laptop lacks an Ethernet port, a USB-to-Ethernet adapter can help. Just plug it into your laptop’s USB port, then connect the Ethernet cable from the adapter to your Raspberry Pi.
Whether using an Ethernet cable or a USB adapter, you must set up your network settings. This process is similar for Windows, macOS, and Linux. It depends on your operating system.
“I spent a lot of time searching for clear instructions on how to connect my Raspberry Pi to my laptop, but I couldn’t find many helpful resources. That’s why I wanted to create this guide to make the process as straightforward as possible.”
By following this guide, you can easily connect your Raspberry Pi and laptop. With some effort, you’ll be ready to use your Raspberry Pi fully in your projects.
how to connect raspberry pi to laptop
Connecting your Raspberry Pi to a laptop opens up new possibilities. You can use your Raspberry Pi projects from anywhere, without needing extra monitors or input devices. Let’s look at how to set up a strong raspberry pi connectivity between your devices.
Establishing the Connection
First, make sure your Raspberry Pi and laptop are on the same network. You can do this with an Ethernet cable or Wi-Fi. Once connected, you can access your Raspberry Pi from your laptop.
Using Ethernet for Connectivity
To connect via Ethernet, follow these steps:
- Plug an Ethernet cable into your Raspberry Pi’s Ethernet port.
- Connect the other end to an Ethernet port on your laptop.
- Now, your Raspberry Pi and laptop are on the same network, ready for a smooth laptop-raspberry pi interface.
Utilizing a USB-to-Ethernet Adapter
If your laptop lacks an Ethernet port, a USB-to-Ethernet adapter can help:
- Insert the adapter into a laptop USB port.
- Link the Ethernet cable from the adapter to your Raspberry Pi’s Ethernet port.
- With this setup, your Raspberry Pi and laptop are connected for a seamless raspberry pi laptop connection.
Wireless Connectivity
For wireless connection, set up Wi-Fi on your Raspberry Pi and ensure both devices are on the same network.
Once connected, you can control your Raspberry Pi projects from your laptop. This means you don’t need extra hardware for display or input.
| Feature | Ethernet | USB-to-Ethernet | Wireless |
|---|---|---|---|
| Connection Speed | 100 Mbps | 100 Mbps | Depends on Wi-Fi network |
| Ease of Setup | Simple | Moderate | Slightly more complex |
| Reliability | High | Moderate | Depends on Wi-Fi network |
Connecting your Raspberry Pi to your laptop opens up many possibilities for remote access and project management. Explore the different connectivity options to find what works best for you and your projects.
“The Raspberry Pi is a powerful and versatile single-board computer that can be easily connected to a laptop, unlocking new opportunities for remote access and project management.”

Accessing the Raspberry Pi Remotely
The Raspberry Pi lets you access it from anywhere, making it easy to manage and control it from your laptop. This feature is great for troubleshooting, running scripts, or using complex programs without being near the device. We’ll look at two main ways to access your Raspberry Pi remotely: using SSH for the terminal and setting up a VNC server for desktop access.
Using SSH for Terminal Access
Secure Shell (SSH) is a secure way to connect your laptop to the Raspberry Pi. It lets you use the command-line interface to run commands, manage files, and do admin tasks. This is perfect for those who like text-based interfaces or need to run scripts without a graphical user interface (GUI).
To use SSH, make sure the SSH server is on your Raspberry Pi and you know the login details. Then, use an SSH client like PuTTY or your computer’s terminal to connect securely to your Raspberry Pi.
Setting Up a VNC Server for Desktop Access
For a visual way to access your Raspberry Pi, use a VNC server. VNC lets you control your Raspberry Pi’s desktop from your laptop, making it feel like you’re right in front of it. It’s great for tasks that need a graphical interface, like running desktop apps or using a file manager.
To set up VNC, install and configure a VNC server like RealVNC or TightVNC on your Raspberry Pi. Then, use a VNC client on your laptop to connect to your Raspberry Pi’s desktop. This lets you interact with your Raspberry Pi’s GUI as if you were sitting in front of it.
Using remote access with your Raspberry Pi makes working with it easier and more flexible. Whether you like the command-line of SSH or the visual interface of VNC, these methods let you work with your Raspberry Pi efficiently and conveniently.

Conclusion
FAQ
How do I configure the Wi-Fi connection on the Raspberry Pi’s SD card?
First, set up the network details on the SD card before starting the Raspberry Pi. This lets your Raspberry Pi connect to a network automatically. Then, you can access it over SSH from anywhere.
How can I connect my Raspberry Pi to my laptop using an Ethernet cable?
Just connect the Raspberry Pi and laptop with an Ethernet cable if your laptop has a port. This creates a direct network link between them.
What if my laptop doesn’t have an Ethernet port?
Use a USB-to-Ethernet adapter if your laptop lacks an Ethernet port. This adapter helps connect your Raspberry Pi and laptop.
How do I access the Raspberry Pi remotely from my laptop?
Once both devices are on the same network, you can access the Raspberry Pi remotely. Use SSH for the terminal or set up a VNC server for desktop control from your laptop.
What are the benefits of connecting my Raspberry Pi to a laptop?
Connecting your Raspberry Pi to a laptop lets you control projects remotely. You won’t need extra monitor, keyboard, or mouse. This makes managing your Raspberry Pi projects easy and flexible from your laptop.
